From a foundation chain to your first single crochet rows
A clear US-terms lesson for making chains, working single crochet, turning your work and keeping a small rectangle at ten stitches.
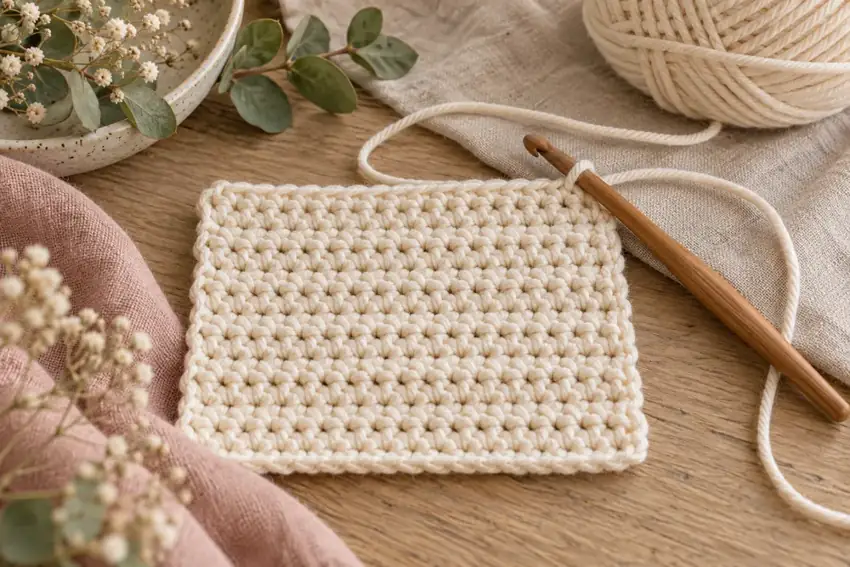
Give yourself an easy starting point
Use a smooth, light-colored yarn and a hook in the range suggested on its label. You need to see individual loops, so save fluffy or very dark yarn for another day. Keep two removable stitch markers nearby. This lesson uses US single crochet, abbreviated sc; it is called double crochet in UK terminology.
The aim is a small practice rectangle, not a particular finished size. Your result will depend on the yarn, hook and tension you use. Concentrate on recognizing where each stitch begins and ends before trying to make a gift or an item that must fit. These written exercises have not been physically maker-tested by Cozy Pattern Lane.
Make a slip knot, then eleven chains
Make an adjustable slip knot and place it on the hook. Leave a tail long enough to thread through a yarn needle and weave through the fabric later. Gently snug the loop against the shaft of the hook while keeping it able to slide. The slip knot is your starting loop, not chain number one.
Hold the working yarn so it feeds without catching. Bring the working yarn over the hook from back to front, catch it in the hook and pull it through the loop already on the hook. That makes one chain. Repeat until you have eleven completed chain stitches. Count the V-shaped links below the hook; do not count the live loop on the hook.
Look at the chain before moving on. If the links are tiny and rigid, loosen your grip and try again. A foundation chain that is much tighter than the rest of the fabric can pull the lower edge inward. Consistency is more useful than pulling every loop as small as possible.
Work the first row: ten single crochets
Count away from the hook without including its live loop. Skip the first chain and insert the hook under the top strand of the second chain. Working under a different part of the chain is possible, but use the same approach throughout this practice row.
Yarn over and pull a loop through the chain: two loops are now on the hook. Yarn over again and pull through both loops. One single crochet is complete, leaving one live loop on the hook. Repeat in each remaining chain, one stitch per chain. Eleven starting chains produce ten single crochets with this setup.
Place a marker in the top of your first completed single crochet, then mark the last one. Count the ten stitch tops. Do not work another stitch into the slip knot at the far end, or include the skipped starting chain in your count.
Turn without adding an extra stitch
For this exercise, chain one and turn the work so you can travel back across it. The chain-one does not count as a stitch. Work your first single crochet under both top loops of the first single crochet directly below it. Continue across, making one single crochet in each of the ten stitches.
Stop after the marked final stitch. Do not add a stitch into the turning chain from the previous row. Move the markers to the first and last stitches of the new row and count again. Repeat this row until you have several rows to examine. A chain-one turn happens once between rows; do not add it at both the end of one row and the beginning of the next.
Pause, inspect, then finish
If you count nine or eleven stitches, compare the edges with the markers before undoing the row. Finding the exact place an error happened teaches you more than quietly adding or skipping a stitch to compensate. If the count is ten but the width changes, compare the size of your loops and how tightly you hold the yarn.
When you decide to finish, cut the working yarn with enough tail for weaving. Draw that cut tail completely through the final live loop and snug gently. Weave the ends through the back of the stitches without gathering the fabric. Keep the sample, label and hook size together so your next practice session starts with something useful to compare.