Your gauge swatch is a tiny rehearsal, not a test
Measure stitches and rows over a meaningful area, understand what the numbers mean and adjust a swatch without forcing your tension.
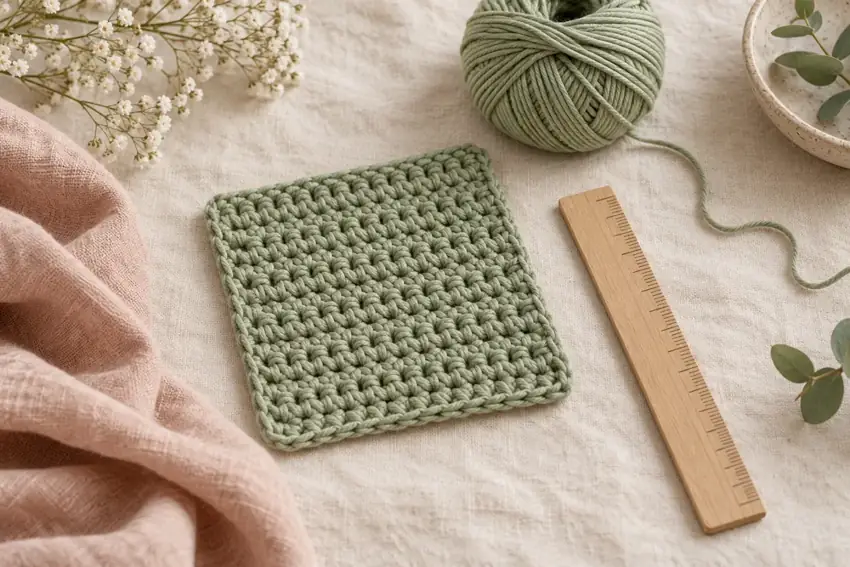
What gauge tells you
Gauge describes how many stitches and rows fill a stated measurement in a specified stitch pattern. It connects written instructions to physical size. Two people can use the same yarn and hook yet produce different gauges because their loops and movements differ. That does not make either person's work wrong; it means the instructions need to be matched to the fabric.
For a fitted garment, a modest difference can accumulate across many stitches. A practice rectangle can still be useful when its dimensions vary, but a sleeve or hat may not fit. Treat the pattern's gauge as information about the intended result rather than a score for how well you crochet.
Read the complete gauge statement
Find the stitch pattern, hook recommendation, measurement area and finishing instructions. A gauge measured in single crochet does not automatically apply to double crochet or a lace repeat. Some designs specify gauge after washing or blocking; others give a different condition. Follow that condition when comparing your result.
Record the units exactly as the pattern gives them. Four inches is 10.16 centimeters, although patterns often pair four inches with a nominal ten-centimeter measurement. Use the same stated measuring basis consistently rather than comparing your count over one with a target expressed for the other.
Give the ruler some room
Make the swatch as directed. If no size is specified, aim for a sample larger than the area you will measure, so edge stitches do not dominate the reading. Include enough complete repeats for a patterned fabric and enough rows for the stitch structure to settle. Do not add arbitrary stitches to a repeat without checking how that repeat is built.
Finish the sample in the condition required by the pattern, using the yarn's care instructions. If washing is needed, let it dry completely before measuring. Lay it flat without stretching it to a desired number. Keep the hook size and yarn details attached; a perfect measurement is less helpful if you cannot remember how you made the fabric.
Measure width and height separately
Place a ruler across the middle, away from uneven side edges. Count the stitch widths inside the specified distance. Then measure vertically through the middle and count the rows within that distance. Include partial stitches or rows when the measuring boundary falls between them; rounding every measurement to whole numbers can hide a real difference.
As a made-up arithmetic example, imagine a target of sixteen stitches across four inches. A swatch showing eighteen stitches across that same four inches contains smaller stitches. Using eighty stitches at the target would give twenty inches; at eighteen stitches per four inches, eighty stitches would give about 17.8 inches. That is why 'only two stitches different' can matter.
Measure in more than one central spot. If the counts vary noticeably, work a little more practice fabric before choosing an average. A ruler cannot fix a sample whose tension changes substantially from one side to the other.
Change one thing, then make another swatch
With more stitches than the target over the same width, try a larger hook. With fewer stitches, try a smaller hook. Make a fresh sample and measure again under the same conditions. These are starting directions, not a guarantee: yarn construction and the way you form stitches can affect the outcome.
Do not keep your hands deliberately strained to maintain a gauge you cannot crochet comfortably. If a matching stitch count produces fabric that is too stiff or too open for the intended use, reconsider the yarn substitution. A matching number alone does not tell you whether the material suits the project.
When the row count still differs
A hook change can alter both stitch and row gauge, and it may not solve them together. Check whether the design measures lengths or specifies exact row counts. Do not silently add or remove rows around shaping, colorwork or fitted sections. Seek design-specific guidance when matching both measurements is important.
Keep a brief swatch record: yarn, hook, stitch pattern, measuring units, before-or-after-washing condition, stitch count and row count. Save rejected swatches too. They show which changes helped and can spare you repeating the same experiment when you return to the yarn months later.
Worked example: why a blanket becomes narrower
Imagine a pattern expects 16 stitches across 4 inches, but your washed and dried swatch has 18 stitches across the same width. Your stitches are smaller: a row of 160 stitches would measure about 35.6 inches at your gauge rather than the intended 40 inches. The calculation is 160 divided by 18, then multiplied by 4. This estimates the body width only, before any border.
Try another swatch with a larger hook if the fabric and pattern permit it, then measure again. Do not simply add chains to a shaped or motif-based pattern: its repeat, shaping and joins may depend on the original stitch count. If you choose a deliberate size change, recalculate all dependent parts and yarn needs.
A quick measuring checklist
Place the swatch flat without stretching it. Measure an interior section away from irregular edge stitches. Count both stitches and rows, including partial stitches where appropriate. Record the washed or unwashed state so your next comparison uses the same conditions.
If stitch gauge matches but row gauge does not, the width may be correct while the length differs. Read whether the project uses a fixed row count or a target length before deciding how to proceed.