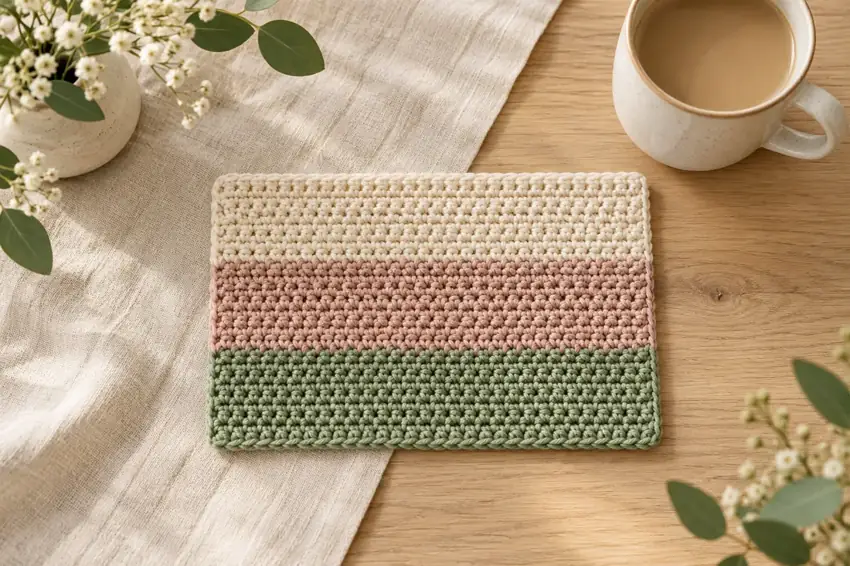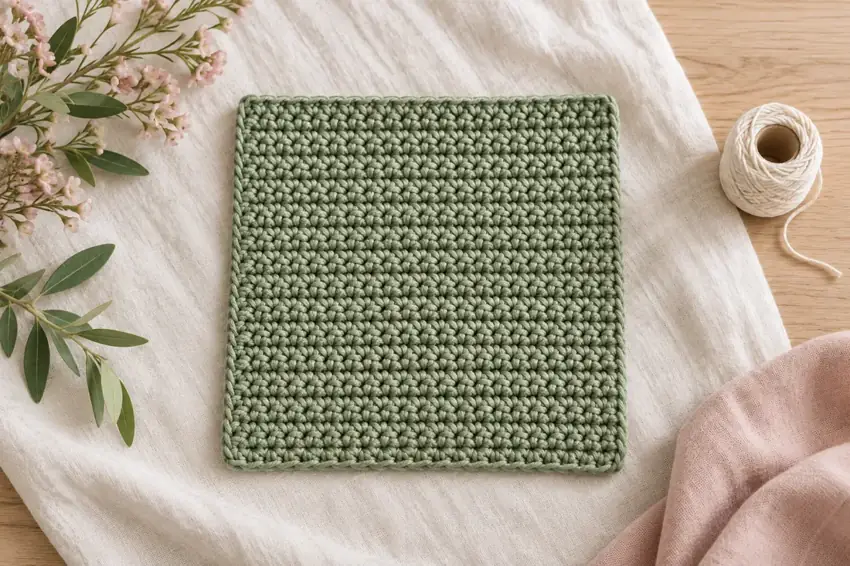
Project overview
- Skill level
- Beginner · US terminology
- Finished size
- Approximately 6 × 6 in (15.2 × 15.2 cm) at the stated target gauge; measured sample pending.
- Gauge
- Target: 16 single crochets and 18 rows = 4 in (10.16 cm), worked flat in single crochet and measured after washing and drying according to the yarn label.
- Testing status
- Written draft — maker testing pending
Materials & tools
- Smooth category 4 / medium-weight 100% cotton yarn. Set aside about 60 yd (55 m), including a modest swatch allowance. This is a planning estimate, not a measured consumption figure.
- A 5 mm crochet hook as a starting point, or the size that gives the target gauge with your yarn.
- Two removable stitch markers, a blunt yarn needle, scissors and a ruler.
- The yarn label, retained for washing and drying directions.
Abbreviations & stitch notes
- US terminology throughout.
- ch = chain
- sc = single crochet
- st / sts = stitch / stitches
For a refresher, use our chain and single crochet lesson, double crochet lesson, or US / UK terminology referenceCalculate stitches from your gauge →.
Let's make it, step by step.
Read the full pattern once before starting. Optional checkboxes help you follow the sequence for this page view only.
- 25 chains
Make a slip knot and chain 25. Count completed chains only; exclude the loop on the hook.
- 24 sc
Single crochet in the second chain from the hook, then single crochet in each remaining chain. Mark the first and last completed single crochets.
- 24 sc on every row
Chain 1 and turn. The chain does not count. Single crochet under both top loops of the first stitch and each remaining stitch across, including the last marked stitch. Move the markers and count after every row. Repeat for 26 further rows, giving 27 rows total.
- 27 completed rows
After row 27, do not start another turning chain. Cut the yarn leaving enough tail for several weaving passes. Pull the cut tail completely through the live loop and gently secure it.
Thread each tail through a blunt needle. Weave through the backs of neighboring stitches, changing direction where the fabric allows without gathering it. Remove markers, check both sides, then wash and dry according to the yarn label. Measure the relaxed cloth.
Construction, finishing & helpful notes
A useful first project with one stitch to remember
This small dishcloth keeps the construction deliberately straightforward: one foundation chain, 27 rows of single crochet and no separate border. The finished fabric is reversible, so you do not need to assign a right or wrong side. A solid color makes the stitch tops easy to see while you practice keeping two straight edges.
The stitch arithmetic has been reviewed, but the project has not yet been physically made, washed or measured. The dimensions are calculated from the target gauge rather than a tested sample. Start with an inexpensive cotton you can inspect easily and keep notes if you adjust the hook or size.
Check the fabric before committing to the size
Make a single crochet swatch larger than the 4-inch measuring area. Wash and dry it according to the yarn label, then count stitches and rows through the center without stretching it. More than 16 stitches over 4 inches means smaller stitches; a larger hook is a reasonable next trial. Fewer stitches suggests trying a smaller hook.
At the target gauge, 24 stitches span 6 inches and 27 rows span 6 inches. If exact size does not matter, you can keep a different comfortable gauge and accept a different cloth size. Avoid a fabric so loose that it feels unsuitable for the intended use; a matching measurement alone is not the only consideration.
The two edge rules that keep the count steady
The live loop on the hook is never included in the foundation-chain count. The chain 1 used between rows only provides turning height and does not count as a stitch. Work into the first single crochet immediately below that chain, and stop after the last marked single crochet. Do not add a stitch into the old turning chain.
From row 2 onward, insert the hook under both top loops of each stitch. To make a single crochet, insert the hook, yarn over and draw up a loop, then yarn over and draw through both loops. You should end every completed stitch with one live loop on the hook.
Troubleshooting before adding a border
If the cloth grows wider, look for two stitches worked into the first stitch or an extra stitch placed in a turning chain. If it narrows, check whether the final marked stitch was missed. Count before changing the hook: a border will not correct an accidental change from 24 to 23 or 25 stitches.
If every row has 24 stitches but the lower edge pulls inward, the foundation chain may be tighter than the later rows. Try a more relaxed chain on a new sample. If only the upper rows narrow, compare your grip and loop size. Do not force the fabric flat with aggressive stretching.
Finish for everyday use
After weaving the tails, gently flex the cloth and check that neither edge gathers. Wash and dry the finished piece following its own yarn label, then let it dry completely between uses. Record its final size for the next cloth. This single-layer pattern is a dishcloth, not a design for handling hot cookware.
For a wider version, add one foundation chain for each additional single crochet you want per row. For a longer version, add rows. Keep a note of the new counts and allow additional yarn rather than assuming the original estimate will cover every variation.
Video help for the techniques
These external tutorials explain stitches or finishing used in this recipe. Follow this page for the project's exact counts, placement and assembly.
How to Single Crochet (SC) — Yarnspirations / Red Heart Design Team ↗Weave In Ends in Crochet — Yarnspirations ↗Browse all technique references →Keep your next make a little easier.
Save yarn, hook, gauge and measurement notes using our free starter checklist.
Open the free checklist ↗