Project overview
- Skill level
- Beginner · US terminology
- Finished size
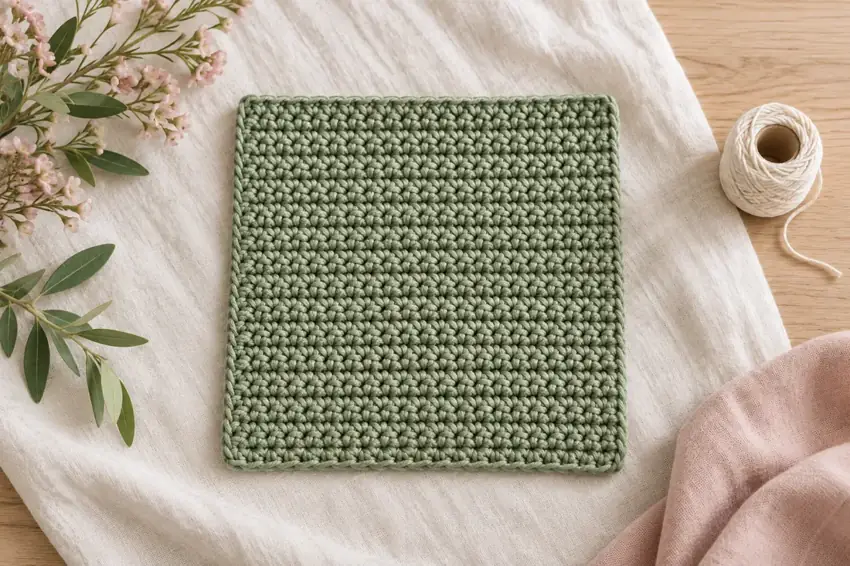
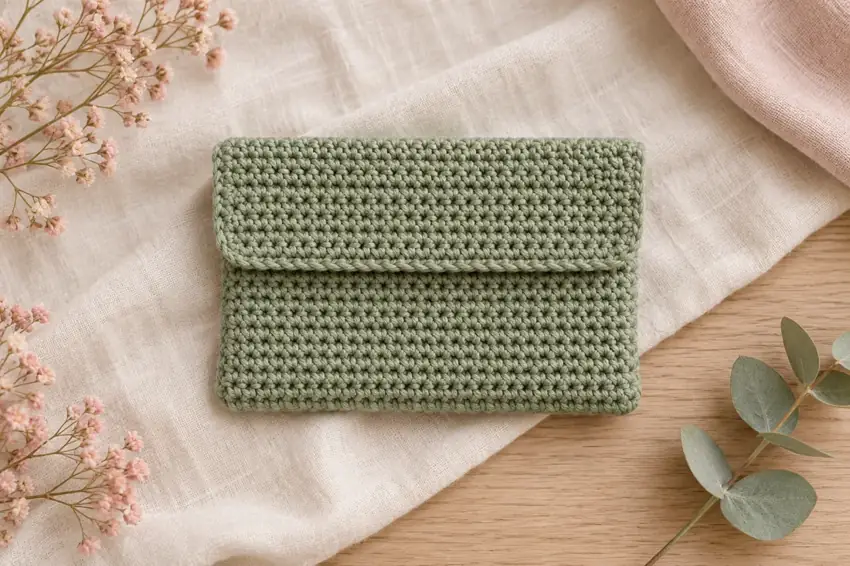
- At the stated gauge: panel approximately 6 × 8 in (15.2 × 20.3 cm); folded pocket approximately 6 × 2⅔ in (15.2 × 6.8 cm) before seam take-up, with a matching-depth flap.
- Gauge
- Planning target: 16 single crochets and 18 rows = 4 in (10.16 cm), measured over a larger, relaxed sample. Dimensions are calculated from this target, not measured from a tested pouch.
- Testing status
- Written draft — maker testing pending
Materials & tools
- Smooth medium-weight cotton yarn: allow approximately 70 yd (64 m), including seams. This is an unmeasured planning allowance; actual use depends on yarn and gauge.
- A hook suited to your yarn; 4.5–5 mm is a starting range only. Adjust after making a gauge sample if the calculated size matters.
- Removable stitch markers, blunt yarn needle, scissors and ruler.
Abbreviations & stitch notes
- US terminology: ch = chain; sc = single crochet; st / sts = stitch / stitches.
- The chain-1 turning chain does not count as a stitch. Work under both top loops from row 2 onward.
For a refresher, use our chain and single crochet lesson, double crochet lesson, or US / UK terminology referenceCalculate stitches from your gauge →.
Let's make it, step by step.
Read the full pattern once before starting. Optional checkboxes help you follow the sequence for this page view only.
- 25 chains
Make a slip knot and chain 25, excluding the live loop on the hook from the chain count.
- 24 sc
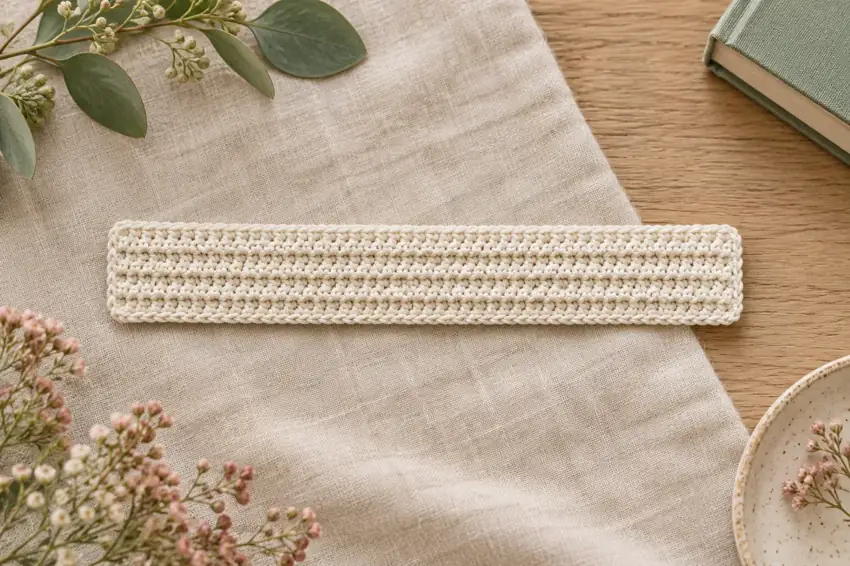
Sc in the second chain from the hook and in every remaining chain. Mark the first and last completed stitches.
- 24 sc in every row
For each row: ch 1, turn; sc in the first sc and in every sc across. Do not work into the turning chain. Move edge markers and count after every row. After row 12, add separate markers at both side edges to mark the first folding boundary.
- 24 sc in every row
Repeat the same row instruction: ch 1, turn, sc in all 24 stitches. After row 24, mark both side edges for the second folding boundary.
- 36 rows total; 24 sc per row
Continue ch 1, turn, sc in each stitch across. Complete row 36, then cut a workable tail, draw it completely through the final loop and secure gently.
Lay the foundation edge nearest you. Fold the first twelve rows upward over rows 13–24, bringing the foundation edge to the boundary after row 24. The fold lies after row 12. Leave rows 25–36 free for the flap.
Whipstitch the two aligned pocket side edges separately, from the bottom fold to the opening, matching row ends. Do not catch the flap or sew across the opening. Secure and weave all ends, remove markers, then fold the twelve-row flap down.
Construction, finishing & helpful notes
A pouch built from a familiar shape
The construction is deliberately simple: make a 24-stitch, 36-row panel, divide it into three equal sections, then fold the lower section over the middle one to form the pocket. The upper section becomes a flap. There are no buttonholes, buttons, zippers or hidden shaping steps.
The row count provides the folding plan even if your gauge differs. Each section is twelve rows deep. The pocket is shallow rather than roomy, so choose its contents after measuring your finished sample. The flap rests over the opening; it is not a secure closure for loose valuables.
Before the first stitch
Read the assembly instructions before starting. Use a fabric that feels reasonably firm without straining your hands. A very open gauge can leave gaps, while an extremely tight fabric makes both crocheting and seaming awkward. Make a larger sample and measure its center if you want the calculated dimensions.
For a single crochet, insert the hook into the indicated stitch, yarn over and draw up a loop, then yarn over and draw through both loops. The loop on the hook never counts as a completed stitch. Place markers in your first and last stitches and move them as you work.
Understand the folds before sewing
Lay the finished panel with its foundation edge nearest you and row 36 farthest away. Place markers at both side edges after row 12 and after row 24. These marks divide the panel into three equal sections: rows 1–12, rows 13–24 and rows 25–36.
Bring the foundation edge upward to the boundary after row 24. The crease is at the boundary after row 12. The first twelve rows now lie over the middle twelve, forming the front and back of the pocket. The final twelve rows remain free above the opening. Fold that free section down over the opening only after the side seams are complete.
Make the seams gentle and even
Use matching yarn and a blunt needle. With the two pocket layers aligned, whipstitch one side from the bottom fold to the opening, catching an edge loop from each layer with each pass. Match the twelve row ends on the front to the twelve row ends on the back. Repeat on the other side.
Keep the flap out of both seams. Do not sew across the opening or through all three sections. Pull each seam only enough to bring the edges together: a hard pull gathers the pocket and makes it narrower. Secure the sewing yarn through nearby stitches and weave in the ends.
Check the shape and make useful adjustments
Before weaving in the final sewing tail, open the pocket and check that its two sides are the same depth. If a side puckers, loosen that seam rather than stretching the panel. If your rectangle gained or lost stitches, correct it before folding; the pocket depends on equal-width sections.
For a future version, keep the total row count divisible by three to retain equal pocket and flap depths. Changing the width means changing the foundation chain to one more than your desired single-crochet count. These are construction rules, not verified size options: make and measure another sample after changing the yarn, stitch count or gauge.
Finish according to your yarn label. Record the actual folded measurements and the amount of yarn used. This original written draft has not been physically maker-tested, so treat those notes as part of evaluating the design rather than evidence that the calculated size is guaranteed.
Video help for the techniques
These external tutorials explain stitches or finishing used in this recipe. Follow this page for the project's exact counts, placement and assembly.
How to Single Crochet (SC) — Yarnspirations / Red Heart Design Team ↗Weave In Ends in Crochet — Yarnspirations ↗Browse all technique references →Keep your next make a little easier.
Save yarn, hook, gauge and measurement notes using our free starter checklist.
Open the free checklist ↗