Project overview
- Skill level
- Intermediate · US terminology
- Finished size
- Target front: 16 × 16 in (40.6 × 40.6 cm) before sewing. Two 16 × 10 in back panels overlap by 4 in (10.2 cm). Seaming and the insert affect final fit; no measured sample is available.
- Gauge
- Block a 12-round granny square to a target 16 in (40.6 cm) per side. For the back panels, target 16 sc and 18 rows = 4 in (10.16 cm). Swatch both fabrics separately and use different hook sizes if needed; a 64-stitch, 45-row back panel calculates to 16 × 10 in.
- Testing status
- Written draft — maker testing pending
Materials & tools
- Category 4 / medium-weight yarn in ivory, dusty terracotta and sage. Budget approximately 800 yd (732 m) in total: 100 yd ivory, 160 yd terracotta and 540 yd sage, including a swatch allowance. These are unmeasured planning estimates; check supply before starting.
- Start with a 5 mm hook and adjust after separate granny-square and single-crochet swatches. Choose one washable yarn family for all colors.
- One approximately 16-in square cushion insert, removable markers, a blunt yarn needle, scissors, measuring tape and blocking pins suitable for the yarn.
Abbreviations & stitch notes
- US terminology throughout: ch = chain; sl st = slip stitch; sc = single crochet; dc = double crochet; st / sts = stitch / stitches; sp = space; RS / WS = right / wrong side.
- A granny group is 3 separate dc worked into one indicated space; it is not a cluster closed together. A corner is (3 dc, ch 2, 3 dc) in one corner space.
- In granny rounds the starting ch 3 counts as the first dc. Joining and travel slip stitches never count as additional stitches. Work joined rounds without turning.
- For back-panel rows, ch 1 does not count as a stitch. Sc under both top loops, including the first and last stitch.
For a refresher, use our chain and single crochet lesson, double crochet lesson, or US / UK terminology referenceCalculate stitches from your gauge →.
Let's make it, step by step.
Read the full pattern once before starting. Optional checkboxes help you follow the sequence for this page view only.
- One front and two back panels
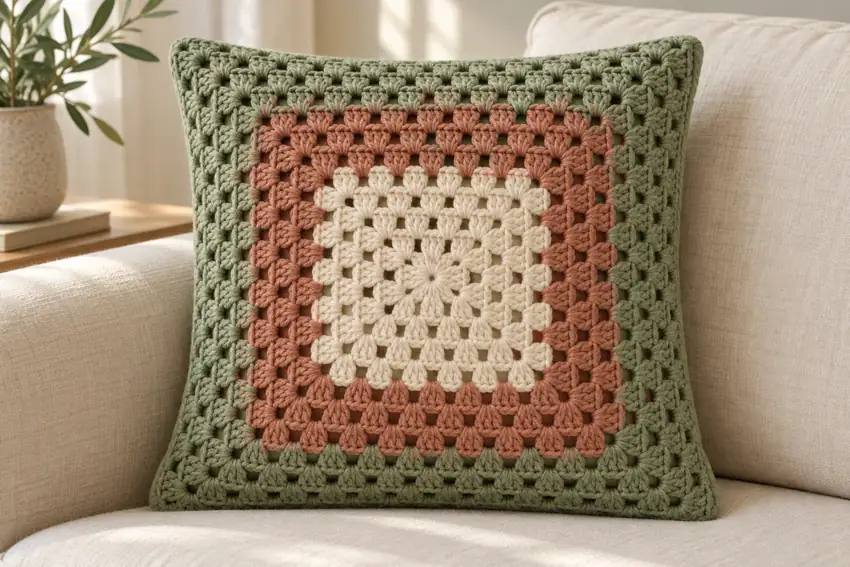
Make and wash a granny swatch and a single-crochet swatch. The front must finish as a 16-in square; each back panel must be 16 in wide and 10 in tall. If the fabrics do not reach those targets comfortably, adjust hook sizes before making the final pieces.
- Round 1: 12 dc; round 2: 24 dc
Ch 4 and sl st in the first ch to make a ring. Ch 3 (counts as the first dc), work 2 dc in the ring, ch 2. Work (3 dc in the ring, ch 2) three times. Join with a sl st to the top of the starting ch 3. Do not turn. Mark all four ch-2 corner spaces. After every later round, move the markers to the four newly made ch-2 corner spaces. Then follow this round-2 sequence: Sl st in the next 2 dc, then sl st into the next ch-2 corner space. Ch 3, 2 dc, ch 2, 3 dc in that same corner. Ch 1. Work (3 dc, ch 2, 3 dc) in the next corner, ch 1; repeat that corner-and-ch-1 sequence twice more. Join to the top of the starting ch 3. Do not turn.
- Round 4: 16 groups / 48 dc
For each new round, sl st across the next 2 dc and into the next ch-2 corner. In that corner work ch 3, 2 dc, ch 2, 3 dc. Ch 1. Along the next side, work (3 dc in the next ch-1 space, ch 1) in every existing ch-1 side space. In the next corner work (3 dc, ch 2, 3 dc), then ch 1. Repeat across the next two sides and corners in the same way. After the fourth corner, work the last side’s (3 dc, ch 1) repeats, then join to the top of the starting ch 3. Do not add a fifth corner and do not turn. In round r, each side uses r−2 existing ch-1 spaces; round 3 therefore has one such space per side. Work rounds 3 and 4 in ivory. Round 3 has 36 dc and 8 side ch-1 spaces; round 4 has 48 dc and 12 side ch-1 spaces. Each has four ch-2 corners.
- Round 8: 32 groups / 96 dc
At a change after a completed round, fasten off the old color. With the next color, make a slip knot, place it on the hook and sl st into any ch-2 corner of the most recently completed round. Start the next round there with ch 3, 2 dc, ch 2, 3 dc. Skip the travel slip stitches for that round only. Leave tails long enough to weave securely; do not tie short tails and trim them at the join. Work four more rounds using the same granny-round sequence: round 5 = 60 dc, round 6 = 72 dc, round 7 = 84 dc, round 8 = 96 dc. The number of ch-1 side spaces is respectively 16, 20, 24 and 28. Keep four ch-2 corners on every round.
- Round 12: 48 groups / 144 dc
At a change after a completed round, fasten off the old color. With the next color, make a slip knot, place it on the hook and sl st into any ch-2 corner of the most recently completed round. Start the next round there with ch 3, 2 dc, ch 2, 3 dc. Skip the travel slip stitches for that round only. Leave tails long enough to weave securely; do not tie short tails and trim them at the join. Work rounds 9–12 using the same sequence. Dc totals are 108, 120, 132 and 144; side ch-1-space totals are 32, 36, 40 and 44. Fasten off after round 12. Weave tails and gently block the front to 16 in square.
- 64 sc
With sage, ch 65. Sc in the second chain from the hook and in every remaining chain. Mark the first and last sc.
- 64 sc × 45 rows
Ch 1 and turn; ch 1 does not count. Sc in the first stitch and every stitch across, under both top loops. Work 44 additional rows, giving 45 rows total. Keep 64 sc on each row. Fasten off. The foundation and row-45 edges are the 16-in-wide horizontal edges.
- Two matching 16 × 10 in back panels
Repeat the complete 65-chain foundation and 45-row instructions to make a second identical sage back panel. Weave tails, wash and shape both panels to 16 × 10 in. Do not proceed to assembly if one is a different size.
- 16 + 4 = 10 + 10 in
Lay the front RS up. Lay back panel 1 RS down over its upper part: align the panel’s foundation edge with the front’s top edge so its row-45 edge lies 10 in down. Lay panel 2 RS down over the lower part: align its foundation edge with the front’s bottom edge, so its row-45 edge lies 10 in up from the bottom. Their unsewn row-45 edges overlap by 4 in at the center. Pin corners, quarter-points and both overlap ends.
- Four outer seams; central opening remains free
Using sage and a blunt needle, overcast all four outer edges together. Catch corresponding front/back edge loops near the outer edge, taking evenly spaced stitches; do not force 64 sc to match granny stitches one-for-one. Through the overlap sections catch all three layers. Keep both central row-45 edges free to form the opening. Secure the seam, turn RS out through the envelope opening and gently insert the cushion. Check that the overlap stays closed without stretching.
Construction, finishing & helpful notes
Why the back has two generous overlaps
Two 10-in-tall panels cover a 16-in front with 4 in of overlap: 10 + 10 − 16 = 4. The opening belongs in the center of the back. Sewing across either free horizontal opening edge would close the envelope.
The granny front is openwork. A plain cushion insert can show through it; this version does not add a lining or claim an opaque front.
Count groups before counting every double crochet
Every round adds four groups, or twelve dc in total. A completed round r has 4r groups, 12r dc, four ch-2 corners and 4(r−1) ch-1 side spaces. The starting ch 3 is already included in the dc total.
At round 12, each side between corner centers contains twelve groups: two half-corner groups and ten interior groups. A group placed into a dc top instead of a side space can create an unplanned bump.
Fit depends on both swatches
The front and back use different fabrics, so a single hook is not guaranteed to give the correct sizes for both. Make the front and backs to the same actual width before sewing.
If the insert strains the seam or pushes the envelope open, stop and reassess the relaxed panel sizes or use a smaller insert. Do not force a 16-in insert into an unexpectedly smaller cover.
Solve puckering before inserting the cushion
If a back panel gathers while sewing, unpick that section and redistribute its edge using the pinned quarter-points. Matching physical lengths matters more than matching unlike stitch counts.
If the front cups, check four corners on every round and one group in each side space. If it ripples, check for extra groups. Counts come first; blocking cannot reliably correct structural errors.
Care and a matching collection
Remove the insert before washing the cover and follow the yarn and insert labels separately. Test colorfastness, especially where terracotta meets ivory.
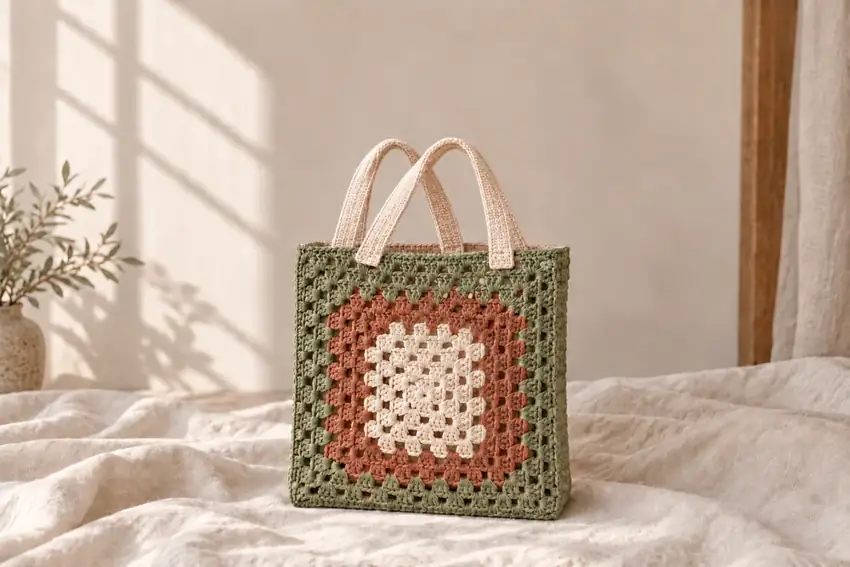
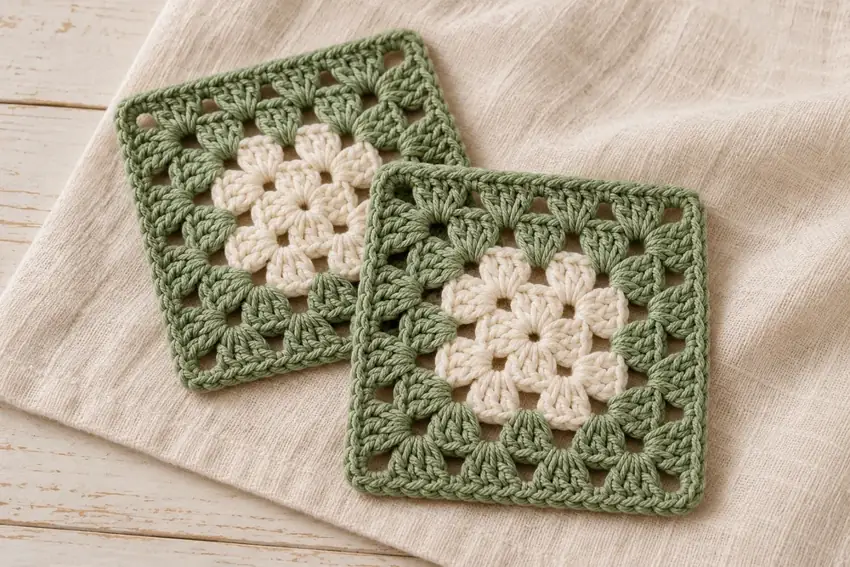
The matching tote uses the same three-color frame, while the two-tone coasters offer a smaller way to practice classic granny corners.
Video help for the techniques
These external tutorials explain stitches or finishing used in this recipe. Follow this page for the project's exact counts, placement and assembly.
How to Crochet a Foundation Chain — Yarnspirations / Red Heart Design Team ↗How to Double Crochet (DC) — Yarnspirations / Red Heart Design Team ↗Weave In Ends in Crochet — Yarnspirations ↗Browse all technique references →Explore the Beyond the Basics collection →
Keep your next make a little easier.
Save yarn, hook, gauge and measurement notes using our free starter checklist.
Open the free checklist ↗