Project overview
- Skill level
- Easy · US terminology
- Finished size
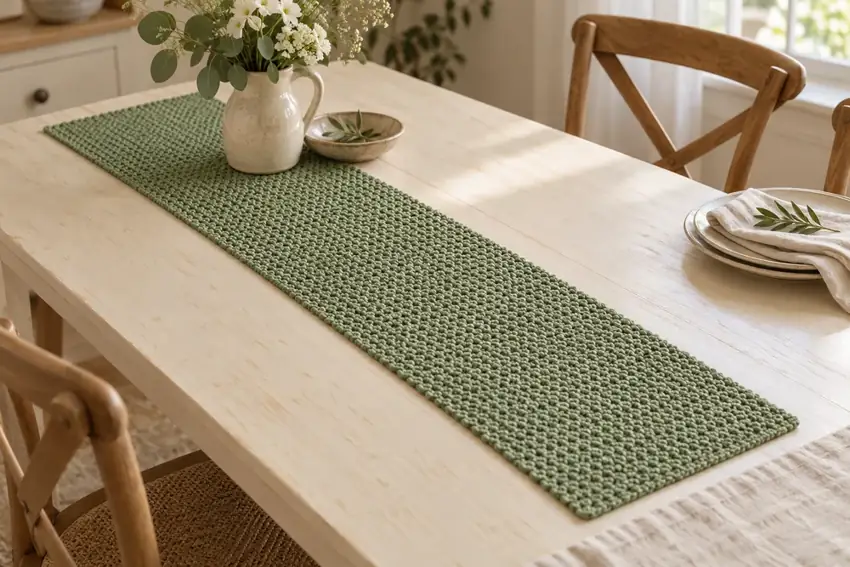
- Target approximately 10 × 36 in (25.4 × 91.4 cm), calculated from 20 moss-stitch units across and 180 rows at the target gauge. Sample measurements pending.
- Gauge
- Target: 8 moss-stitch units and 20 rows = 4 in (10.16 cm). One unit means one single-crochet column with its neighboring chain space. Measure an interior section of a larger washed swatch; do not count individual chain loops as separate units.
- Testing status
- Written draft — maker testing pending
Materials & tools
- Smooth category 4 / medium-weight cotton yarn in sage. Set aside approximately 600 yd (549 m), including swatching. This is a conservative planning allowance, not measured yarn consumption.
- A 5 mm crochet hook as a starting point; adjust to achieve the target gauge and a fabric you like.
- Two removable markers, a blunt yarn needle, scissors, tape measure and the yarn care label.
Abbreviations & stitch notes
- US terminology throughout.
- ch = chain
- sc = single crochet
- ch-1 space = the opening below a chain 1, not the top loops of a single crochet
- st / sts = stitch / stitches
For a refresher, use our chain and single crochet lesson, double crochet lesson, or US / UK terminology referenceCalculate stitches from your gauge →.
Let's make it, step by step.
Read the full pattern once before starting. Optional checkboxes help you follow the sequence for this page view only.
- 42 chains → 20 sc; 19 internal ch-1 spaces + 1 edge gap
Make a slip knot and chain 42, excluding the live loop from the count. Single crochet into the fourth chain from the hook. Repeat [chain 1, skip the next foundation chain, single crochet into the following chain] 19 times. The last single crochet uses the final foundation chain. The three skipped chains at the beginning form the edge gap; mark that gap.
- 20 sc; 19 internal ch-1 spaces + 1 edge gap
Chain 2 and turn. These chains form the new edge gap and do not count as a single crochet. Skip the first single crochet. Single crochet into the first chain-1 space. Repeat [chain 1, single crochet into the next space] 19 times, treating the marked turning gap at the far edge as the final space. Move the edge-gap marker to the new chain 2.
- 10 rows total; 20 sc per row
Repeat row 2 for eight more rows, giving ten completed rows in total. Count twenty actual single crochets at the end of each row. Keep the final single crochet in the far turning gap, never in a single-crochet top. Check width and edge tension now.
- 180 total rows at target gauge
Continue repeating row 2 for 170 further rows, for 180 completed rows total. Keep a tally every ten rows. At the target gauge, the relaxed fabric is approximately 36 inches long. If using another gauge, follow the measured-length adjustment in the notes and record your new row total.
After the last single crochet of row 180, do not make another turning chain. Cut a generous weaving tail, pull it all the way through the live loop and secure gently. Remove the marker only after confirming the last row has twenty single crochets.
Weave both yarn tails into neighboring stitches without drawing the ends inward. Wash and dry according to the yarn label. Smooth without stretching, let it dry fully and measure the relaxed runner. There is no additional border or fringe.
Construction, finishing & helpful notes
Texture without decorative edging
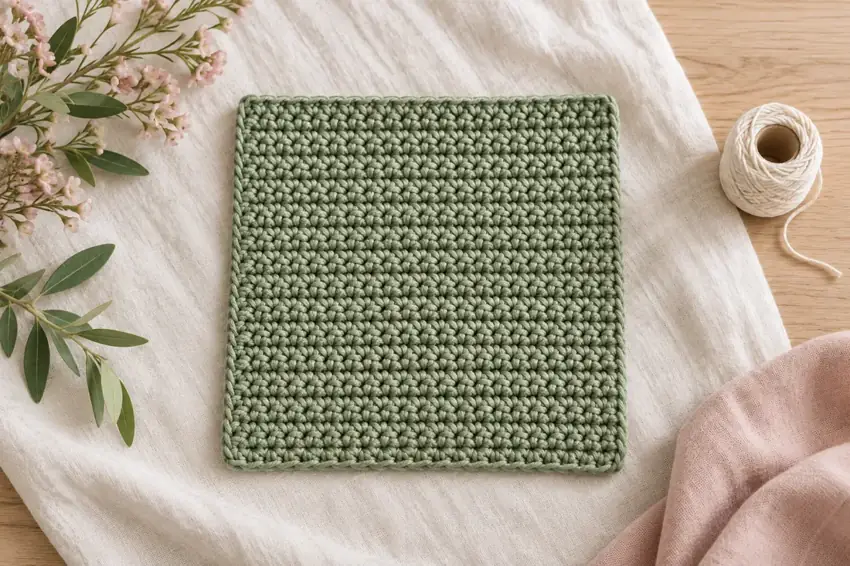
The interest in this runner comes from the little offset columns of moss stitch. Work short rows across the width, then continue until the long rectangle is complete. The sage color and unfringed edges make it easy to use beside patterned dishes or a small vase.
The recipe is an original written draft. Counts have been checked on paper; the 10 × 36-inch target and yarn allowance have not been established by a made sample. There is no border to add hidden width or cover a changing stitch count.
Understand the edge space before starting
Each row contains 20 actual single crochets and 20 working spaces when the turning-chain gap is included. Of those spaces, 19 are ordinary chain-1 spaces between single crochets, and one is the gap at the beginning of the row. The starting chain-3 section in row 1 and the chain 2 at the beginning of later rows provide that edge gap. They do not count as single crochets.
After turning, skip the single crochet directly below the hook and work the first single crochet into the first chain-1 space. The final single crochet goes into the previous row's turning-chain gap. Mark that gap after making it; it is easy to overlook because it sits at the very edge.
Measure units rather than every loop
On a larger swatch, count eight single-crochet columns across an interior section and measure their repeating width, including the adjacent gaps. At eight units per four inches, the runner's twenty units give ten inches. At twenty rows per four inches, 180 rows give thirty-six inches. Count completed rows, not ridges that may combine two rows.
For a different width, choose a positive whole number of units U and chain 2 × U + 2. The first row is one single crochet in the fourth chain plus U − 1 repetitions. Keep U single crochets in later rows. Changing length only requires changing the row total; estimate rows as desired inches × measured rows per inch.
Check the runner while it is still small
After rows 5 and 10, lay the fabric flat and count twenty single crochets in the latest row. A tapered edge often means the last turning gap was missed. A bulge can mean a stitch was added in a single crochet instead of placing it only in a space. Undo to the first incorrect row rather than trying to compensate at the other end.
A tight foundation can bow the short end even when the later count is correct. Test a more relaxed starting chain before committing the full length. If the fabric ripples with correct counts, compare chain tension to single-crochet tension and reswatch; do not stretch the finished runner aggressively to conceal the problem.
Finish for a table, then record the result
Weave tails through several neighboring stitches in more than one direction, without tightening an edge. Follow the cotton's care label for washing and drying, then lay the runner smooth and measure its relaxed dimensions. A damp runner can mark a wooden table, so let it dry completely before use.
This open-textured single layer is decorative table linen. It is not designed as a heat barrier for cookware. Record yarn, hook, final size and actual use of yarn so a second runner can be based on a tested result.
Video help for the techniques
These external tutorials explain stitches or finishing used in this recipe. Follow this page for the project's exact counts, placement and assembly.
How to Single Crochet (SC) — Yarnspirations / Red Heart Design Team ↗Weave In Ends in Crochet — Yarnspirations ↗Browse all technique references →Explore the Beyond the Basics collection →
Keep your next make a little easier.
Save yarn, hook, gauge and measurement notes using our free starter checklist.
Open the free checklist ↗